March 4, 2025 · 7 min read · Maria Delgado, EPA 608 Universal Certified
Get Your AC Ready for Summer: The Pre-Season Checklist Pros Use
Five things to do (or have done) in March and April that prevent roughly 80% of summer breakdown calls. The full pre-season AC checklist from a working HVAC technician.
Get Your AC Ready for Summer: The Pre-Season Checklist Pros Use Guide
Most AC breakdowns don't happen in the middle of July. They happen during the first 90°F week of the year — when the system fires up under heavy load for the first time in months and a marginal component finally gives up. Almost every one of those breakdowns would have been prevented by a 30-minute pre-season check in March or April. Below is the exact checklist we recommend to every homeowner before the cooling season kicks off in earnest.

1. Replace the air filter — and reconsider what kind you're using
Pull the current filter. If it's been in place more than 90 days, replace it with the same size and MERV rating. While you're at it, evaluate whether you've got the right filter for your home.
- 1" pleated, MERV 8: the budget standard. Fine for homes without allergy sufferers, but needs changing every 60–90 days.
- 1" pleated, MERV 11–13: better filtration, but watch for airflow restriction on older systems. Change every 60 days.
- 4–5" media filter: the upgrade most homes should make. Lasts 9–12 months, traps dramatically more, doesn't restrict airflow because of its huge surface area. About $400–$600 installed if you don't have the cabinet.
If you have asthma or allergy sufferers in the household, the media filter upgrade pays for itself in comfort within the first season.
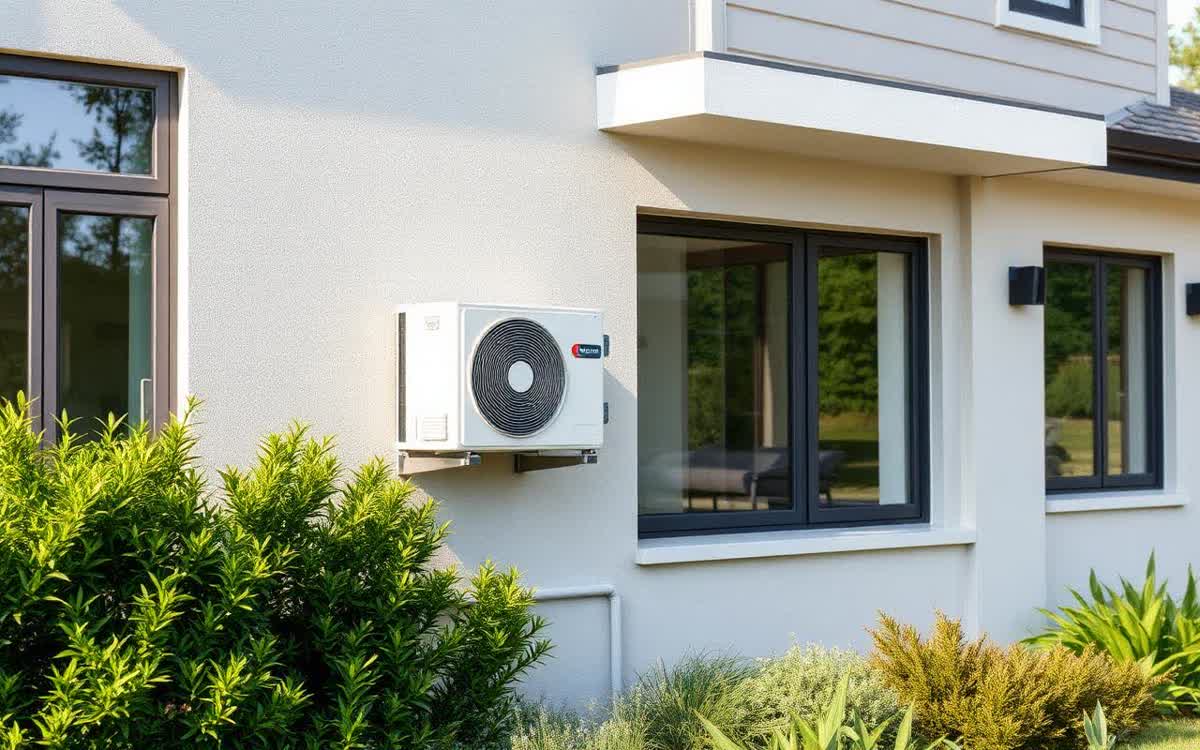
2. Clean and clear the outdoor condenser
The outdoor unit needs three things to work: airflow on all four sides, a clean coil, and a clear top. Start by trimming bushes, shrubs, and tall grass back to a minimum of 24 inches from every side of the unit. Rake out leaves, mulch, cottonwood fluff, and pine needles from the base. Now the coil itself.
The right way to wash a condenser coil
Turn the breaker off at the panel. Pull the disconnect at the outdoor unit if you have one. Remove obvious debris by hand. Hose the coil from the inside out with a regular garden hose — never a pressure washer, which bends the soft aluminum fins and reduces heat-transfer efficiency for the rest of the unit's life. If the coil is heavily caked with grease or cottonwood, a foaming coil cleaner from a hardware store ($12, applied per the instructions) does in 15 minutes what a pro would charge $150 for.
3. Test the system before you need it
Pick a mild day — 65°F or warmer. Set the thermostat to COOL, fan to AUTO, setpoint about 5°F below the room temperature. Let the system run 15 to 20 minutes and walk through this checklist:
- The outdoor unit's fan is spinning and the compressor is running (you'll hear a low hum from the unit, separate from the fan).
- Every supply register in the house blows noticeably cool air.
- No new rattles, hums, or screeches from either the indoor or outdoor unit.
- No water dripping from the secondary drain pan or onto the ceiling below the air handler.
- The copper refrigerant line going to the outdoor unit feels cold and sweats lightly. The smaller copper line feels warm.
If anything looks off, you have weeks before the first heat wave to get a tech out without paying emergency rates.
4. Clear the condensate drain line
Find the white PVC pipe coming off your indoor air handler. There's usually a vertical cleanout fitting shaped like an upside-down T. Pour a cup of distilled white vinegar into the cleanout twice a year. The vinegar kills algae and biofilm before they can grow into a full clog. If you've had ceiling stains, a backed-up secondary pan, or a condensate-float-switch shutdown before, this 30-second task is the single most important thing on this list.
5. Schedule a professional tune-up
The one item on this list that actually requires a tech, and the one that matters most. A real spring tune-up isn't a glorified filter change — it's a measured diagnostic of every component most likely to fail in summer heat. Here's what should be on the worksheet:
- Measured refrigerant charge (superheat and subcool readings, not just "pressures look fine")
- Capacitor microfarad reading — the part most likely to fail in summer heat, easily tested in 30 seconds
- Contactor inspection for pitting and burn marks
- Electrical connections checked under amp load
- Static pressure and temperature differential across the air handler
- Drain line flushed
- Coil inspection inside and out
Expect to pay $99–$179 depending on your area. If a tune-up offer is much cheaper than that, ask what's actually included — the $39 "tune-up specials" are usually loss-leaders designed to find $1,500 in recommended repairs.
Don't put it off
Spring slots fill up. Every year we book solid by mid-April for tune-ups, and homeowners who wait until June end up scheduling in July or August — at emergency rates, in the heat, with a system already struggling. Book in March or early April.
Schedule online any time, or call (626) 618-8360 for a live dispatcher. Comfort Club members get pre-season tune-ups, priority scheduling, and no overtime charges included with membership.
Talk to an HVAC expert about Get Your AC Ready for Summer: The Pre-Se
Live dispatcher 24/7. Same flat-rate pricing day or night.